Showing posts with label SU. Show all posts

February 10, 2013

Forever - LOAD Day 5

I am thrilled with how this layout turned out! The photos were taken on our 10 year anniversary, and it took me forever to find the right PP to use. I dug through my stash pulling out anything that had the red or the blue that I was looking for. This star PP had both colors in it, but it was not my favorite, so I decided to use it as a border to tie in the colors. There is journaling hidden behind the photos, which can be accessed by pulling on the silver heart (PTI die). 

I love the title, and it makes me smile every time I look at it. Of course there is a story behind it which I included in the journaling. When the minister asked my father "Who gives this woman to this man..." my father replied that he was not giving me away, but loaning me out with a 20 year renewable lease". Now, I think that he just said this at the rehearsal, but he claims it was at the ceremony itself. Either way it was said, and remains a joke in our family, and explains the title. Forever, or at least the next 10 years.


February 1, 2013

Meeting Neila

This is the first layout that I made with the January Studio Calico Kit. I think that the balance is off and the white space should be on the top. The "Sister Aunt Daughter" stamps are from a PTI set, and I also used the arrow stamp from this month's kit as well. All of the items (other than the PTI stamp) used on this page that were not from this month's kit was from a previous Studio Calico kit!


January 23, 2013

Santa

The last layout from my December Studio Calico kit! This one is pretty simple. I added the red SU glitter paper, the sequins from my stash, and the "Santa Claus is on his way" is cut from a piece of PP from my stash (Recollections)


August 2, 2012

Meeting Lauren


This layout is for the Chinese Whispers group on ScrapHappy. I am so excited to see how these layouts have evolved. I know how much I have changed them to make them fit my style, so I am really looking forward to seeing how each layout started, and the evolution.
I started with the Ecco Park This and That Collection, added some washi tape and some old Dear Lizzie crocheted flowers,and finished with some pearl brads from my stash and some little SU pearls.
I only had one sheet of the background PP, but wanted to use it for the square in the middle also, so I cut an 8x8 square from the middle,used a MS punch around the edges of the bolder print, and inked everything up with Distress Ink before adhering it all together.

July 19, 2012

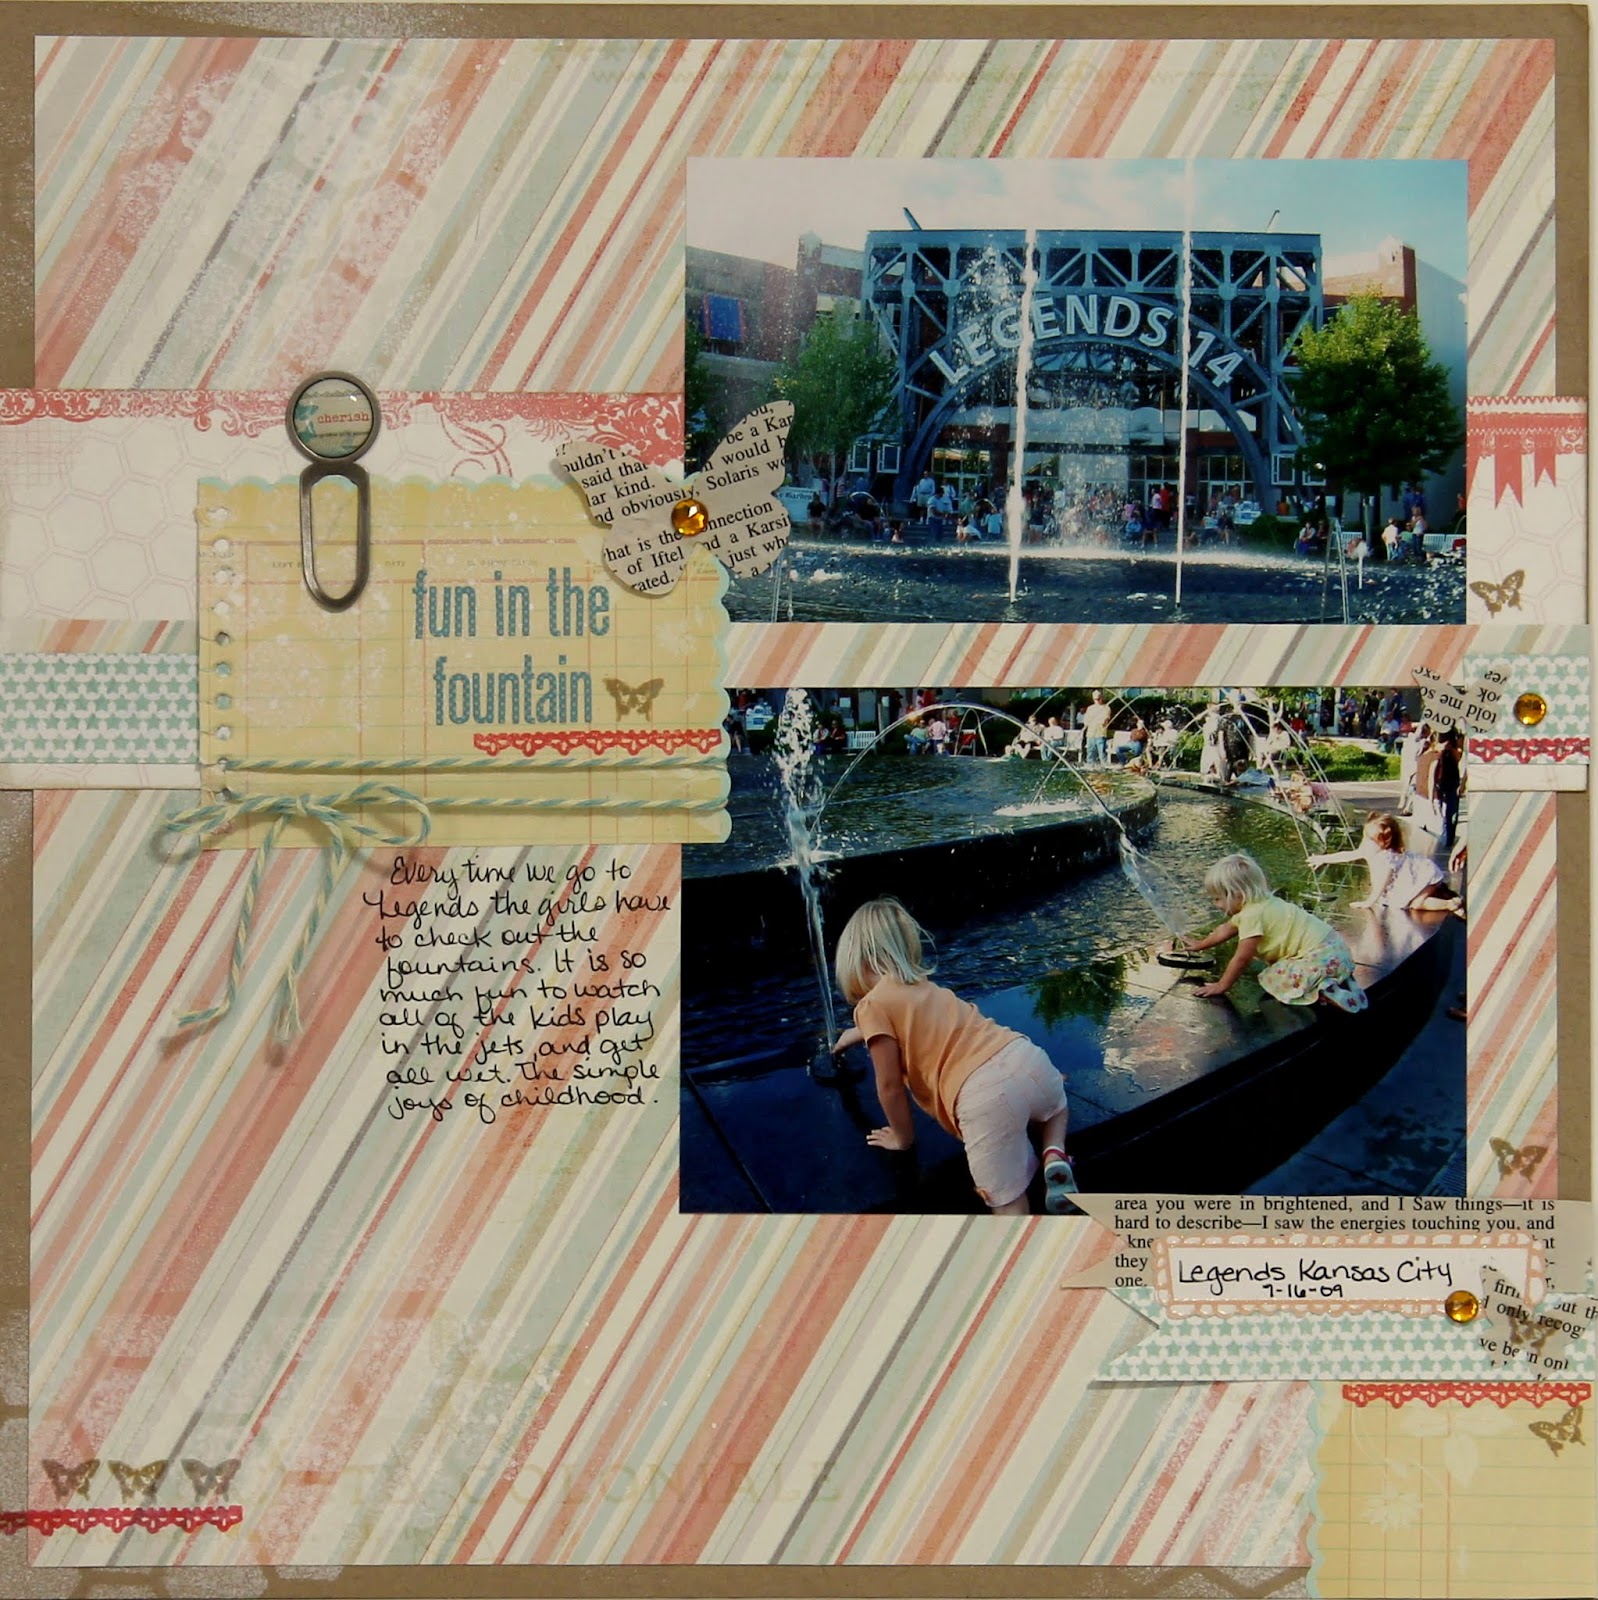
Fun in the Fountain

This is another layout that I completed for the Chinese Whispers challenge at Scrap Happy. I used My Minds Eye PP, some book paper punched with the Butterfly Sizzlet for Stampin Up. I sprayed some Mister Huey through a mask made with the PTI Happy hexagon plate, and added some stamped butterflies and little scalloped pieces using the coordinating stamp set (Purchased from MyCraftChannel.com) using PTI inks. 
I love how this one turned out!

April 18, 2012

Using Scraps

Before cleaning up my workspace from the mini album I decided to make a coordinating card to go with the gift. The CS, stamp and ink is from PTI. I misted the Melon Berry CS with some homemade perfect pearls mist and ran it through my cuttlebug with the Damask Impression Plate. I layered the Teresa Collins PP, a sticker form the collection and a strip of CS that I stamped the sentiment (also PTI) on. I added a couple of the butterfly die cuts from teh collection and some SU Pearls.

March 5, 2012

Baby Shower Gift - Mini Album

Ok, I did not work on the Disney Cruise album this weekend as I had planned, but I did craft! I made a mini album for a baby shower gift. I still need to make the card/ gift card holder, but the mini is done! I used the new Everyday Moments collection from Teresa Collins. I love this collection! The dark blue CS is from Stampin UP , and light blue is from PTI. The mini album design is from Laura at On the Paper Trail. It is her Beaded Matchbook Mini. I made a small change to the length of the pages, but other than that I followed her tutorial!
I matted the outside of the pockets so that a 3.5 x 5 photo can be placed there with a .25" mat all the way around. The tags inside the pockets will hold a 4x6 with just a teeny little border around it on 3 sides and still leaving the patterned paper edge on the right that sticks out from the pockets.
I love the charms hanging from the ribbon on the cover. The silver one I have had in my stash for a few years, it actually came on a gift from Hallmark and says "Children are the greatest gift of all". The other charm is a clear acrylic tag from Tim Holtz that I stamped the baby's name on in Staz-On using a PTI aplha set.
I am linking up to Scrap Scene's WIP Monday post!

February 10, 2012

LOAD Days 8 & 9

I am so proud of my ever growing stack of completed layouts for LOAD! 
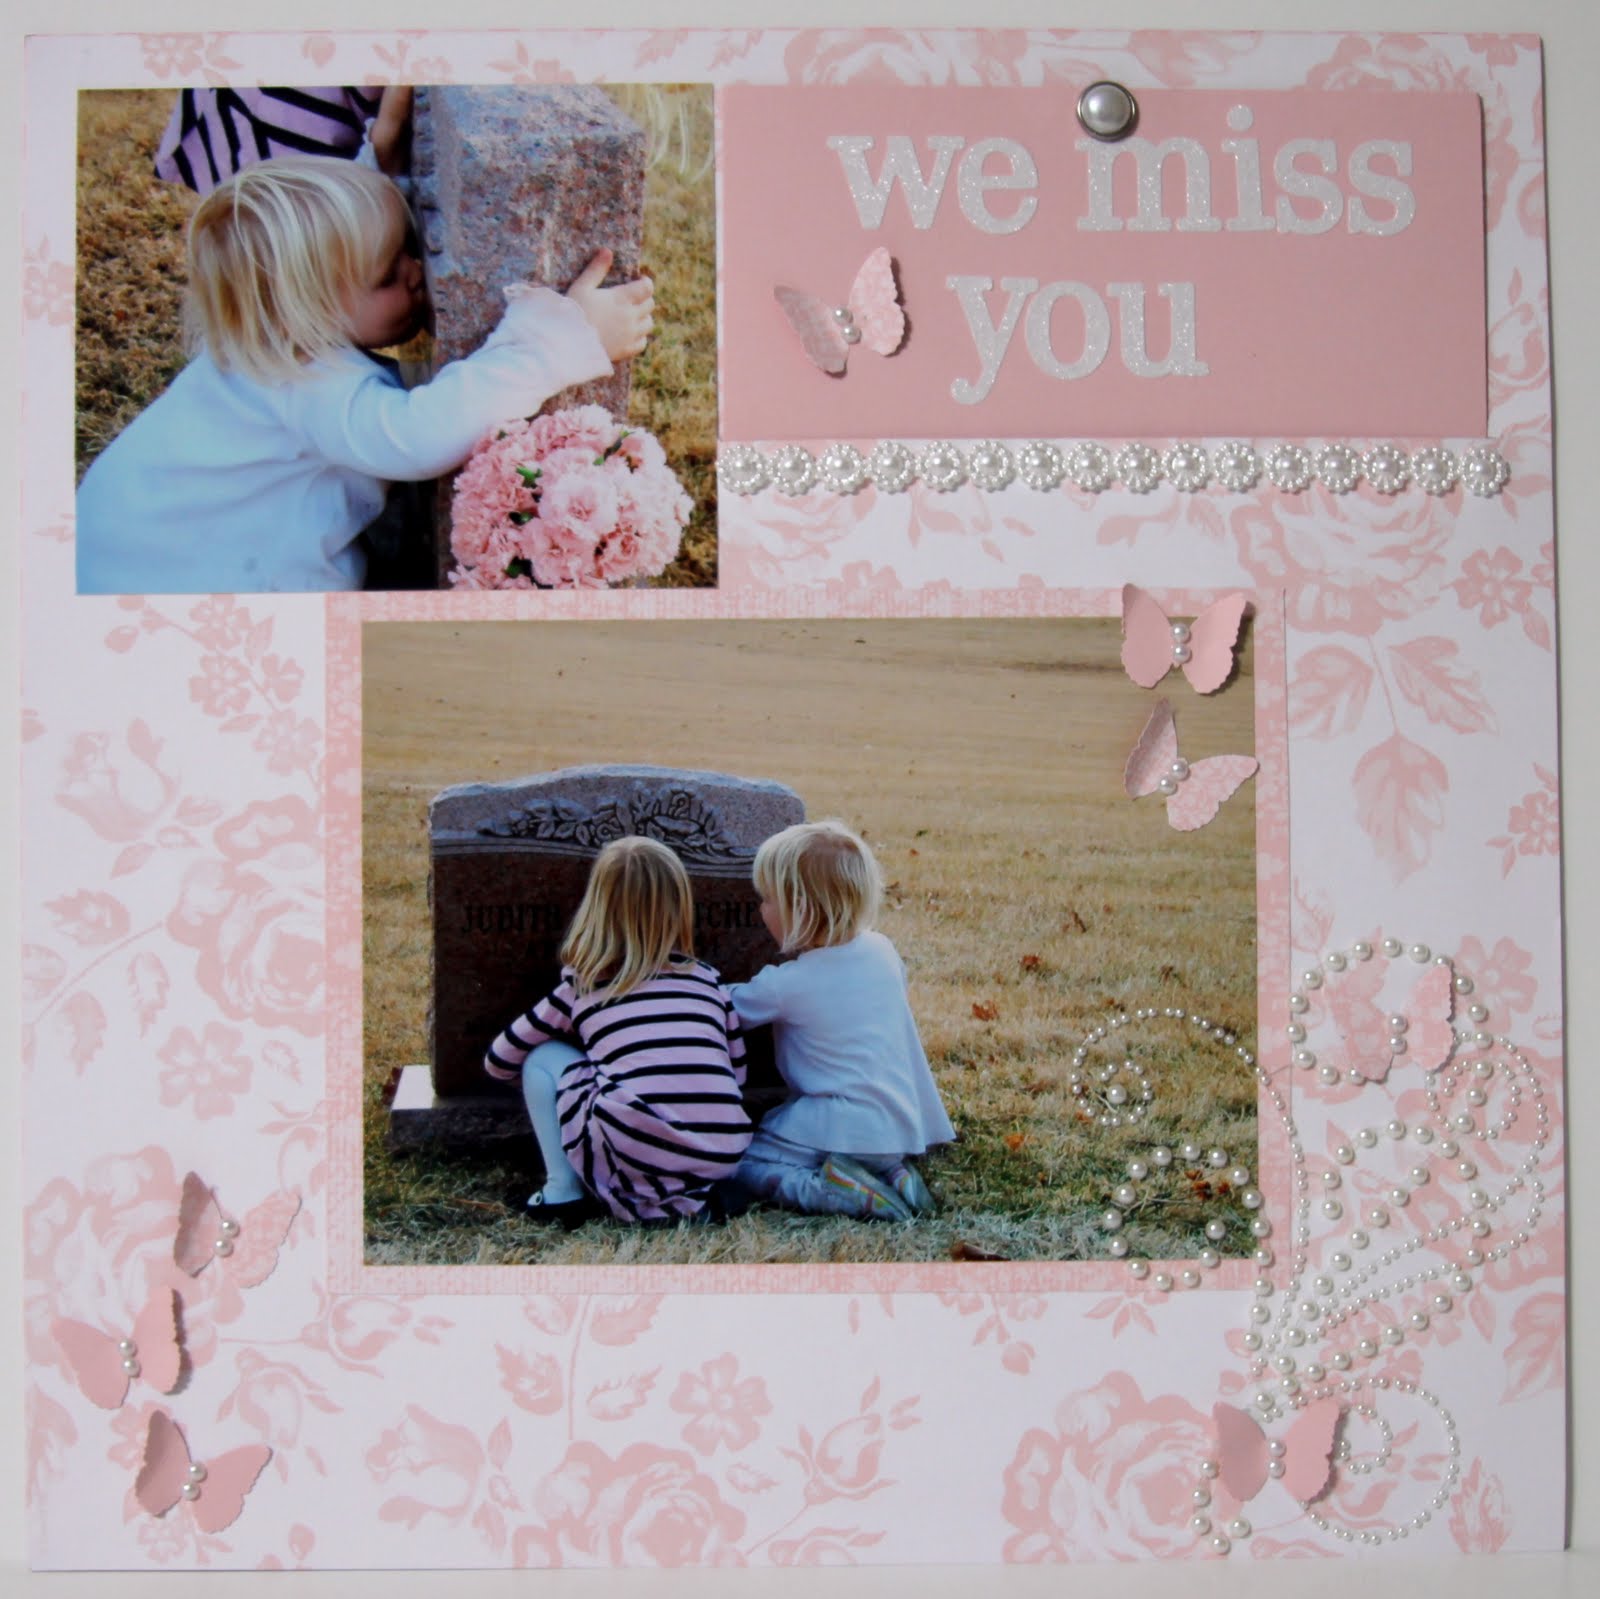
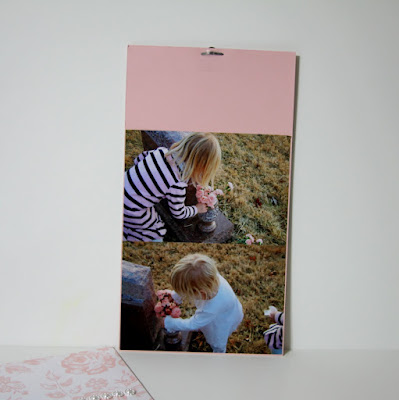
I knew exactly what photos I needed to use for the Day 8 prompt. I took these photos not long after Judy's headstone was installed. The girls love visiting "Grandma Judy's stone" and bringing her flowers. The title is actually the top of a large tag that pulls out for more photos and journaling (that I have not written yet). The PP is from SU, cardstock is PTI, I used some Prima (i think) pearl bling, the Martha Stewart butterfly punch and some misc trim and brad from my stash.


Day 9 was all about home.  While this is NOT the pic that I intended on using for this prompt, it worked out perfectly. The PP, blue alphas and the flowers are from the MM Noteworthy collection. I also used the Martha Stewart butterfly punch on some book paper, and spritzed it all with some Gold Glimmer Mist. I am not sure where the green alphas are from, but I have had them forever!

February 4, 2012

LOAD Days 3 & 4

I know that we are only 4 days into LOAD, but I am already feeling so much more inspired to scrapbook! I have even broken away from following a sketch from 4x6 Photo love, or other sources and have been just creating on my own. Love this!

For Day 3, I actually modified my layout a little after posting it to the LOAD Flickr group. It just needed something else.
Flickr post:
 And after I added some bling (misc from my stash), some more word stickers (Paper Studio I think), and trimmed down the journaling block. I really like the banner. It was actually from a border strip in the Echo Park - Splash collection. I ran it through the sewing machine following the top of the pennants, and then trimmed it out. And It is hard to see in the pic, but I outlined the swirly/wave pattern in Stardust Stickles.

Day 4 is another double page layout using the same collection. The title is cut from a Kerri Bradford svg file, the swirl stamp, ink and ribbon is from Papertrey Ink, bling is from Michaels. I used a Fiskars border punch, Martha Stewart scallop circle punch, and a SU label punch in addition to the elements from the Echo Park collection. 


February 7, 2011

Valentines

This weekend we made Valentines for Megan and Lauren's valentines parties next week. I did not want to wait until the last minute and end up having to buy them. (ummm not that that has ever happened before...)
So, while the girls were watching a movie I got everything prepped. I used the scalloped heart nestabilities to cut out a bunch (50ish) of hearts from a K&Co Valentines paper pack that I bought last year, and then used the next size down to cut out a bunch of white hearts. I also cut a bunch of white CS down to 5 x 2. These were folded and stapled so that it would hold a pencil. I did not take a clear picture of these unfortunately.
Finally I stamped a bunch of hearts in different colors using a SU stamp that my sister was kind enough to let me borrow and then punched them out with the coordinating punch.  Once all of this was done I gathered some glue, the pencils (Target and Wal-Mart), a small "Be Mine" stamp, and an ink pad (both Papertrey Ink) and got everything set up on the dining room table.


Excuse the tablecloth.. this is our craft and playdough tablecloth!

You can kind of see the folded/ stapled piece in the above picture. This is what the girls wrote the To/ From lines on.

Then they stamped the "Be Mine" sentiment on the white hearts


Then they got to glue together all of the hearts


And then I attached them to the folded backing...

 and added the pencils!